
Automatically deploy your Ghost themes with CircleCI
As you can see, this site uses the Ghost CMS. Moreover, I use a theme that I modify from time to time according to my needs, as for example to add the multi-author that was not active natively.
Nevertheless, the default is that Ghost requires each time to redeploy the theme via the backoffice. It must also be compressed with a unique name each time.
Nothing too much blocking, except that when working on some improvements, the back and forth for tests can be numerous.
So I decided to set up a small automated deployment using CircleCI.
CircleCI - CI tool in SaaS mode
CircleCI is a CI tool that runs in SaaS mode, it allows you to execute workflows in order to build applications or deploy them.
CircleCI can connect natively to GitHub/BitBucket and react to certain events using webhooks. There is a free usage level, limited to one parallel task and 2500 credits per week (which corresponds to 250 minutes on medium machines).
In my use case, I will trigger a deployment on my test server every time I commit to the testing branch on GitHub, and a deployment on my production server every time I commit to the master branch.
The use of containers allows to have executions of only a few seconds, which allows to fully use the free solution.
Preparation
Preparing a Docker Image
As I mentioned earlier, CircleCI uses docker images (among others). There are a number of them provided directly by CircleCI. However, in my case, I have 3 separate sites to manage, and I want to have as few files as possible in copy/paste mode from one project to another.
So I chose to build my own docker image, which I published on DockerHub.
You can find the Dockerfile of my image on GitHub :
https://github.com/teddy-ferdinand/docker-ghost-themes
As you can see, the image is very basic, it's based on an ubuntu image (which has the advantage of being quite light) on which I installed curl and zip.
Then there is a shell script that I copy on it.
This script allows :
- To authenticate using an API token (described below).
- To push the new theme by giving it a unique name
- Activate the theme after it has been pushed.
- This image is then built automatically by DockerHub.
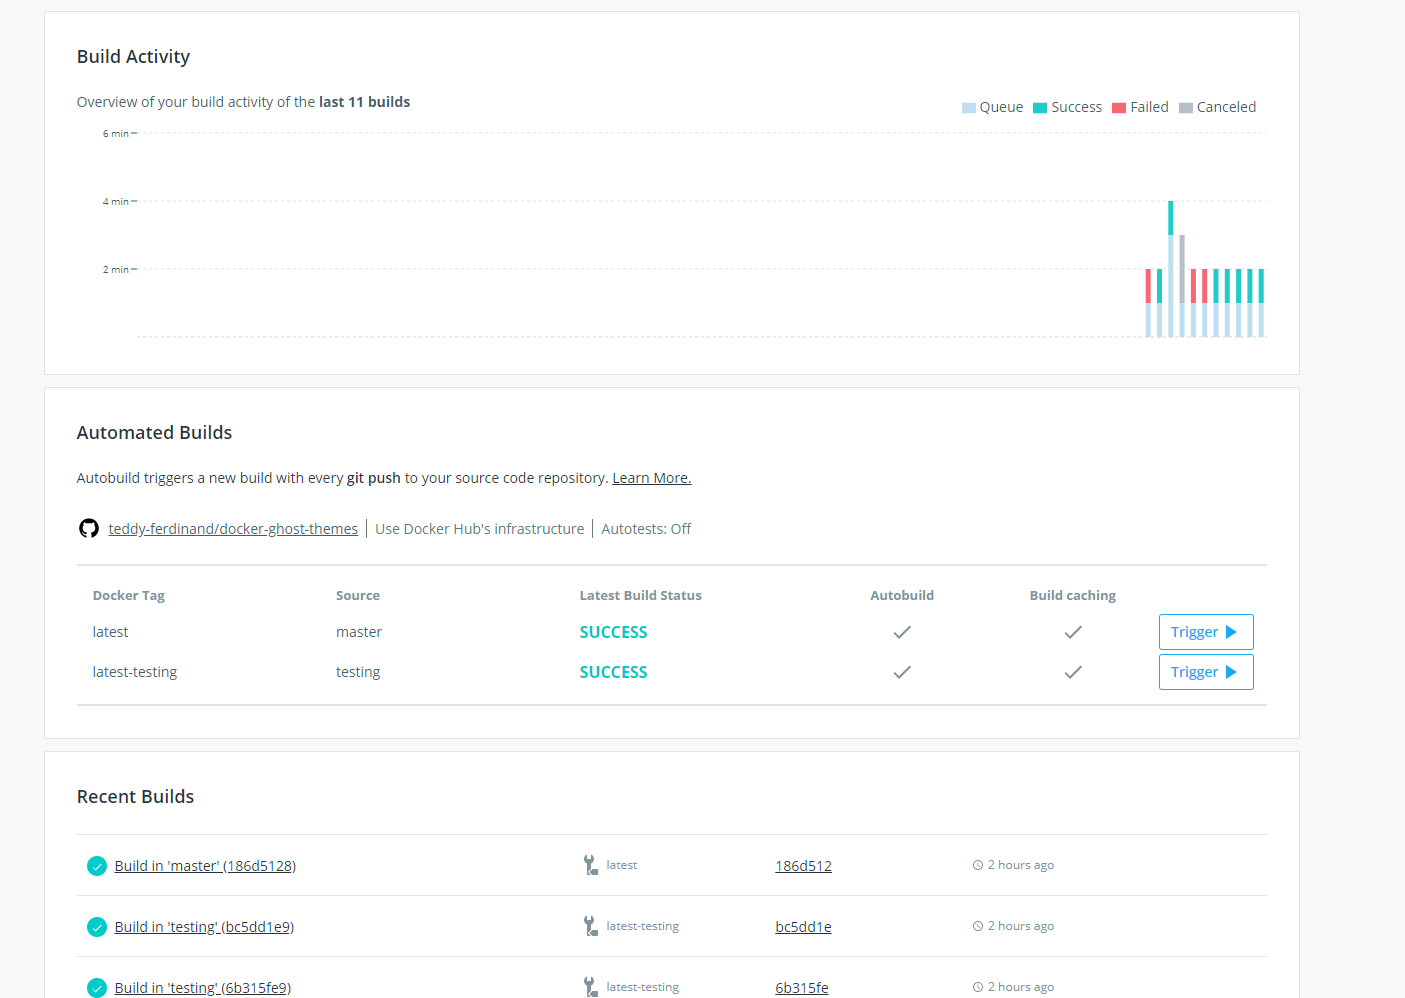
You can find the constructed image at this link: https://hub.docker.com/r/tferdinand/docker-ghost-themes
Preparing an API key on Ghost
On the Ghost side, it is necessary to prepare an administration API key to be able to access the theme APIs.
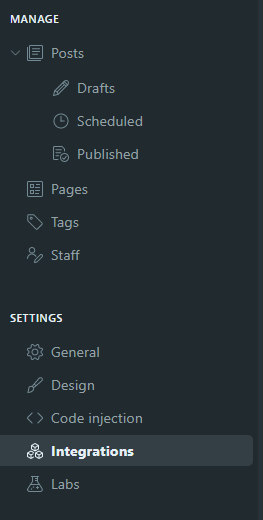
To do this, simply go to the back office interface and select "Integrations".
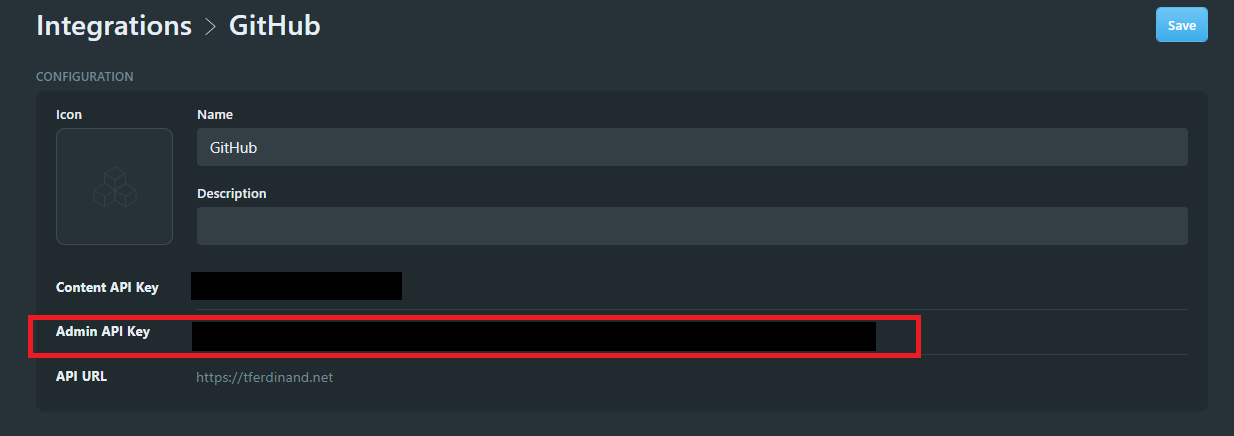
Then click on "Add custom integration" and give it a name.
The key we are interested in is the one named "Admin API Key" (in red below).
Preparing a Github repository with your theme
Finally, we will need a GitHub repository for CircleCI to deploy.
So we're going to create a GitHub repository, which can be private, as for me. Indeed, the theme I use is licensed and I cannot share it publicly.
In this repository, we will also add a .circle/config.yml file. It is this file that will be used as a basis for the deployments, in which we will indicate the basic images and the actions to be performed.
I have prepared a public repository containing the basic Ghost theme, Casper, and the Circle workflow, you can find this repository here: https://github.com/teddy-ferdinand/ghost-deployment-demo
In the circleci configuration file, we find :
- Lines 4 to 6: The basic configuration for CircleCI, with the name of the image used and the sizing at the Docker level (small = 1vCPU / 2GB memory)
- Lines 7 to 25, the description of my steps, with the test and prod part, you can see that there are two main steps, the preparation of the archive, and its sending with the script described earlier
- From line 27: The description of my deployment workflow, which is very basic in my case.
Importing the project into CircleCI
Now that we've got everything ready, go to CircleCI and log in to your account. If you don't have a CircleCI account, you can login directly with your GitHub account.
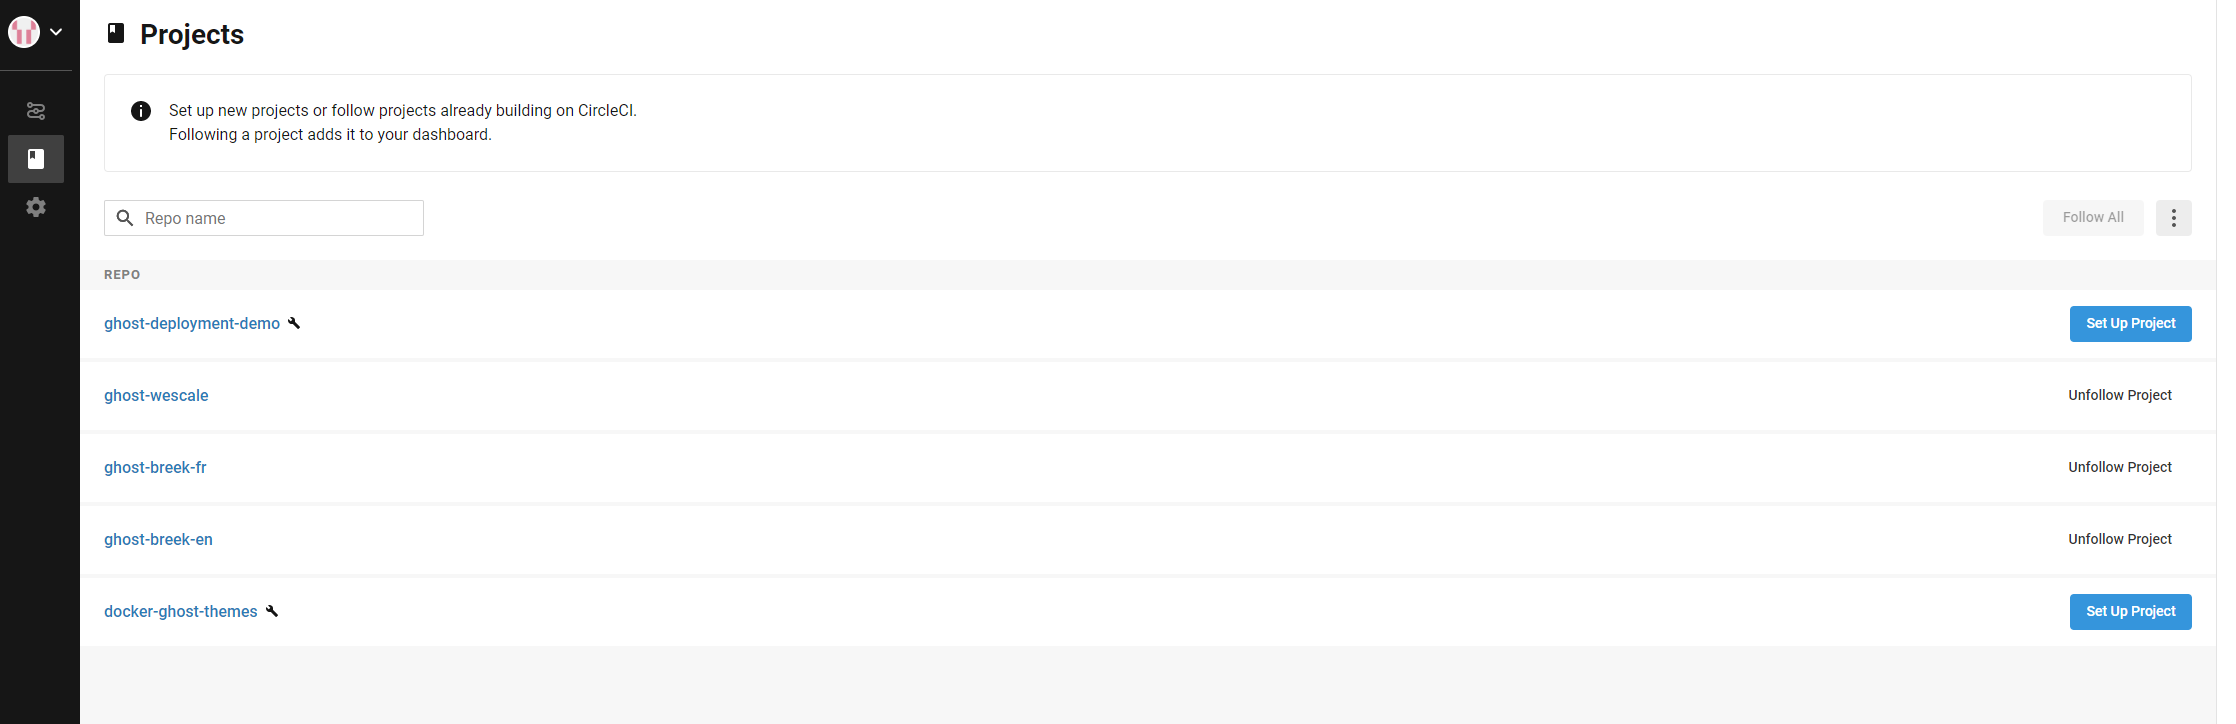
Once logged in, click on "Add project" in the left-hand menu.
Then click on "Set Up Project" on the line corresponding to your project.
You can then directly click on "Start Building" in the upper right-hand corner, since we already have our CircleCI configuration file. Then select "Add manually" for the same reason and then "Start Building" again.
Your project is now ready, and a build starts... but it fails!

Don't panic, it's normal, our project being ready beforehand, CircleCI is looking for content on master and not testing (the branch I pushed).
Before restarting our build, we will just create two variables, by clicking on "Project settings" and then "Environment Variables".
The two variables we're going to create are :
- testing_api_url : which point to your test ghost server url.
- testing_api_key : which contains the key we created earlier
Why put these values, and especially a secret here?
First of all, it saves us from having them on GitHub, secondly, the values of the variables created in CircleCI are automatically hidden, but the workflow can access them without any worries. As you may have seen from the workflow used on GitHub, I actually use these variables to point to the right environments.
Now all you have to do is commit to the testing branch to launch our test build, which this time runs smoothly.
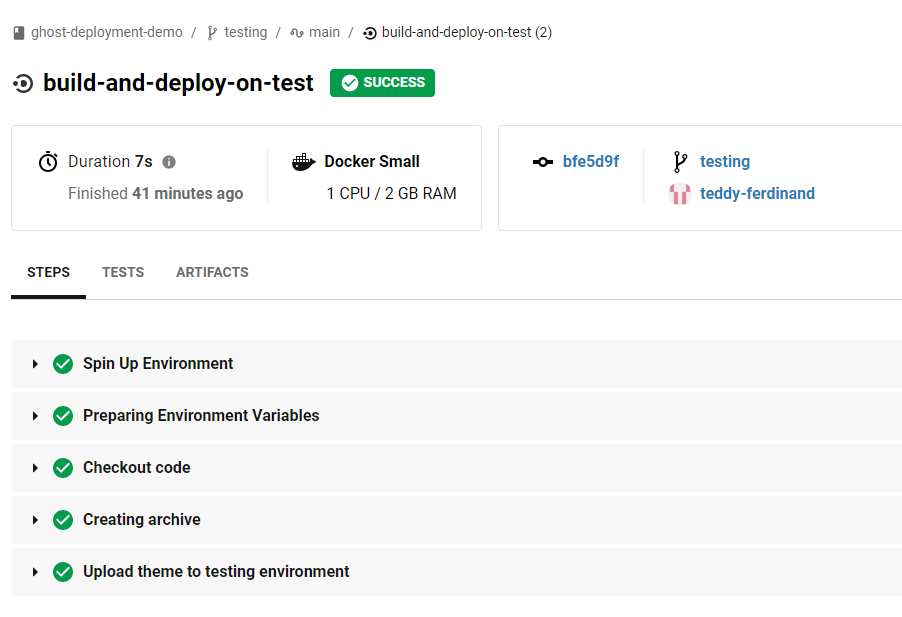
By going to the Ghost interface, you normally have a new theme deployed and activated with a unique identifier.

Now I just have to create two new environment variables prod_api_url and prod_api_key, in the same way as the previous ones to make my deployment on production work. A merge on the master will allow to perform the deployment.
In conclusion
As you can see, it is quite simple to deploy a theme automatically on Ghost.
Nevertheless, I encountered some problems during the implementation:
- The code to manage the JWT token on the ghost site is not functional in shell.
- The theme management API is not documented, I had to observe the behavior of the back office to set up my script.
Finally, as usual, the goal is not necessarily to give you directly the tools by saying "go, it works", but rather to give you the keys to understand and implement as you prefer. The scripts that I made available were quickly made in "proof of concept" mode but are not usable in production as is (notably because of the lack of control of the return codes), I will try to update them soon.


Comments ()